Top 5 Screen Protectors for Curved Screens: A Comprehensive Review
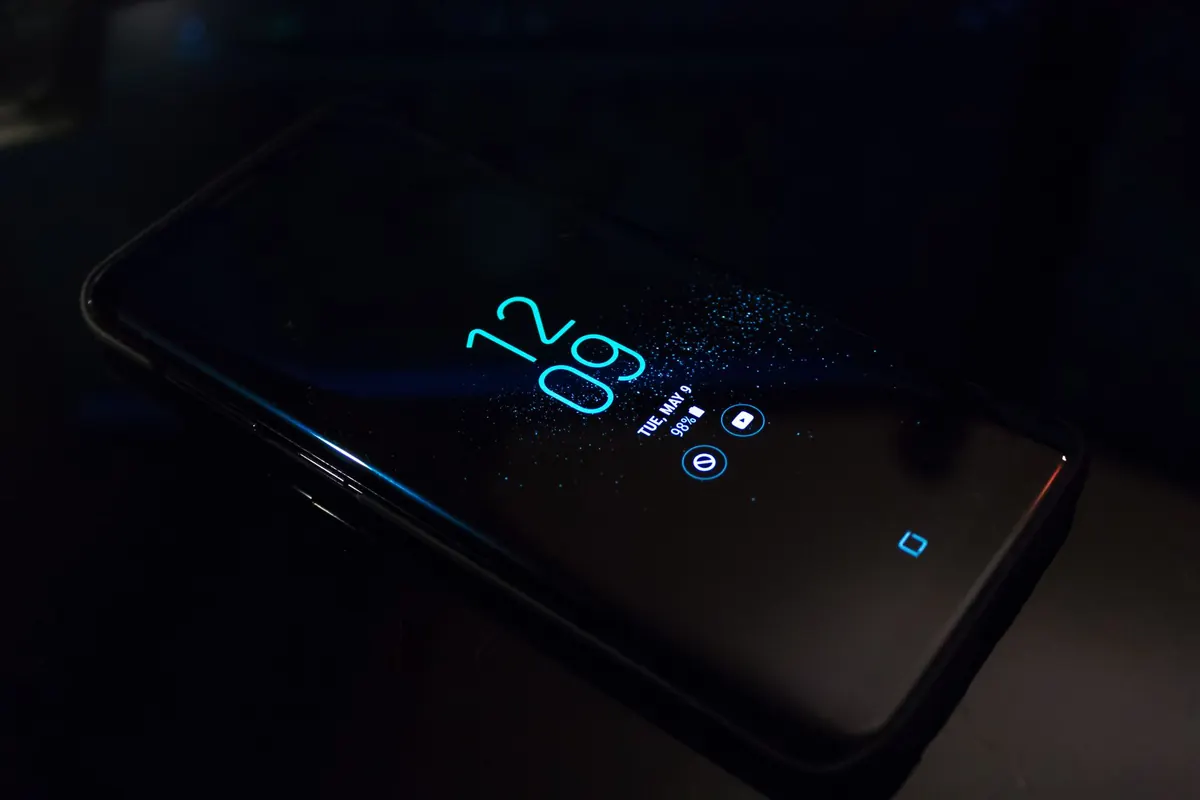
A curved display looks superb in the hand and behaves badly under a screen protector. Flat glass lifts at the corners within hours, dust gathers in the gap, and the edges of the touchscreen start ignoring your thumb. Choose well and none of that happens. The difference comes down to three things: how much of the protector actually sticks to the screen, how the material is shaped to follow the curve, and how thick the bonding layer ends up. After working through the realistic options for today's curved-edge phones, five approaches stand out.
On a flat phone, an adhesive strip around the perimeter is enough to hold a sheet of glass in place. A curved display bends away from the glass at the sides, so a perimeter-only protector leaves an air gap running along both edges. That gap shows up as a rainbow halo in sunlight, muffles taps near the edges, and slowly fills with pocket lint.
The fix is full-surface adhesion, either a pre-applied silicone layer that conforms to the curve or a liquid adhesive cured with UV light. Both close the gap. Both cost more and demand more care during installation.
Curvature also varies wildly between models. A 3D protector is molded to match a specific phone's edges, while a 2.5D protector is flat glass with polished edges and will never sit flush on a heavily curved panel. A protector cut for one phone's curve will not fit another's, even a similar-looking one from the same brand.
You spread a small amount of liquid adhesive, seat the glass, and cure it with the supplied UV lamp. The bond covers the whole surface, so there is no halo, no dust channel, and no lifting on even aggressive curves. Clarity is excellent and touch feels native because the adhesive layer is thin. The catch is installation: it is messy if you rush, and the curing step rewards patience. Tape over the earpiece, buttons and ports before you start, and work on a level surface. Best for anyone who wants a seamless, long-term fit.
Instead of liquid, this type arrives with a silicone adhesive already spread across the whole sheet. Peel, align, press, done — no lamp, no drips. On most flagship curves it sits flush. The adhesive layer is a little thicker, which can soften the feel slightly, and in-display fingerprint sensors sometimes need prints re-registered after installation. If you replace protectors often, or you are installing one for someone else, this is the sensible pick.
Not glass at all, but a flexible polymer that bends around the edge. It will not shatter, it handles minor scuffs, and it is the only reliable answer when even good glass refuses to stay down — very deep curves, or a case with a pronounced lip. The trade-offs are real: a softer surface that picks up marks from keys, slightly rubbery drag under the finger, and far less impact protection than tempered glass.
Same liquid-adhesive construction, different finish. The matte layer scatters reflections and hides fingerprints, which makes it pleasant for gaming, reading outdoors or working under bright office lighting. Text looks a fraction softer because of that scattering, and dark colours lose a little depth. Skip it if you edit photos or watch a lot of video on your phone.
A narrow viewing angle means the person beside you on a train or at a shared desk sees a dark rectangle instead of your messages. It bonds like standard UV glass, so the curved edge is handled well. Expect a dimmer display at full brightness and a darker tint overall. In-display fingerprint readers can become fussy with a privacy layer, so re-register your prints after installation and check the maker's compatibility notes for your model.
Start by looking at your phone from the side in good light. If the glass curves only slightly, a full-adhesive 3D protector is the easiest win. Deeply curved edges push you toward UV-cured glass or a hybrid film. Then check your case: hold it against the phone and see whether the lip rises above the display surface. If it does, buy the protector and the case with that conflict in mind, or accept that the film option is the safer pairing.
One last habit worth keeping: buy two. The first install is where mistakes happen, and having a spare on the shelf turns a frustrating afternoon into a ten-minute job. Fit, clarity and touch response are what you are paying for — everything else is packaging.
Photo: Noah Erickson / Pexels
Previous Post
Best Budget Phone Cases Under $20: Tested and Reviewed
Next Post
How to Clean and Maintain Your Phone Case for Longevity